I’ve grown to love homemade – which I didn’t having growing up – but my husband’s parents made it a tradition to give each of their kids an ice cream maker as a wedding gift, and we’ve about worn ours out. Whether store bought or homemade, there are so many recipes with different flavors and textures – I must try them all! I’m guessing many kids feel the same way. And what if they could learn a bit while they enjoy this cold, yummy goodness?
Ice cream has amazing potential for all kinds of STEM learning activities.

Easy Freeze
With some heavy whipping cream, sweet condensed milk, and Jell-O mixes, you can whip up some fun Superman ice cream with just a mixer and freezer. What a fun way to spend time together and a great starting point for a discussion about how the ingredients combine to make ice cream.
According to icecreamnation.org, most ice cream has five basic components: ice crystals, fat, sweeteners, air, and other solids. Ice crystals put the ice in ice cream and have a lot to do with the texture. Fat, among other things, stabilizes the mixture. Sweeteners lower the freezing point and also affect how hard the final product freezes. Air whipped into the recipe is responsible for the general consistency in each scoop. Other solids include things such as flavoring for improving taste while also reducing large ice crystals. A little cookie dough anyone?
Superman ice cream is pretty easy, but there are so many other recipes to try, each giving different results. So, you might want to try making a different batch each week and compare what you like and don’t like about each. Pinpointing your likes can help you search out your next experiment and lead you to your perfect scoop.
A funny thing about ice cream is that the substances it’s made from would normally separate under different conditions, but at least one of the ingredients (such as eggs or the fat in milk) is an emulsifier that helps everything stick together. Egg yolk or gelatin can also be stabilizers, but one of the reasons homemade ice cream isn’t as smooth and creamy after it’s frozen as store bought is because homemade recipes often don’t have stabilizers. That’s why, when you throw it in the freezer, the leftovers tend to be brittle and icy. In our home, we just tend to avoid leftovers and invite friends and family over to enjoy it fresh.
Shake It Up
While a simple freezing recipe can be good, sometimes it’s worth a little extra work to get the hands-on knowledge about a process. So, you might want to try making ice cream with a Mason jar or coffee can. These were new ideas for me, and I was intrigued, so I had to give them a try.
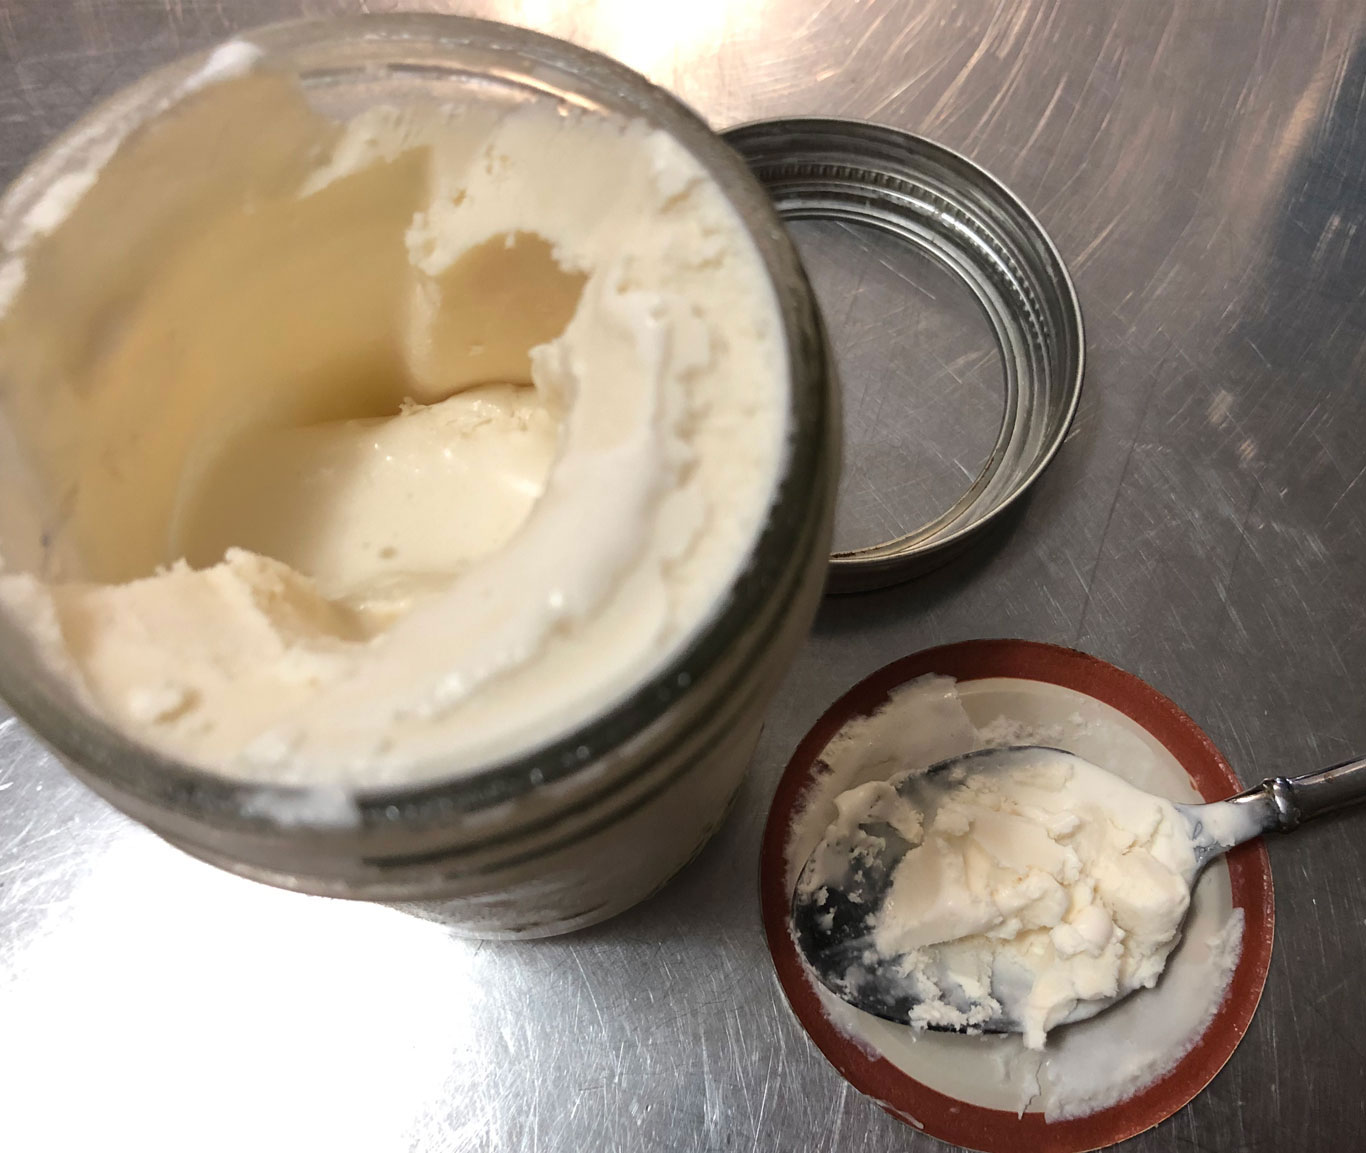
Mason jar ice cream was the simpler option of the two, and I found a good source to help start it out on Pinterest. Without enough whipping cream on hand for the pint jar, a half-pint jelly jar seemed to be a good solution for a test run. BONUS: It was a good opportunity to practice fraction skills, and a great one-portion size that’s more manageable for small children to hold and shake for five minutes. The recipe was super simple:
- 1/2 jar of heavy whipping cream
- 1/2 tsp vanilla
- 1 tbsp sugar
The Mason jar batch was solid after about two and a half hours in the freezer. The texture was smooth, and it tasted pretty good.

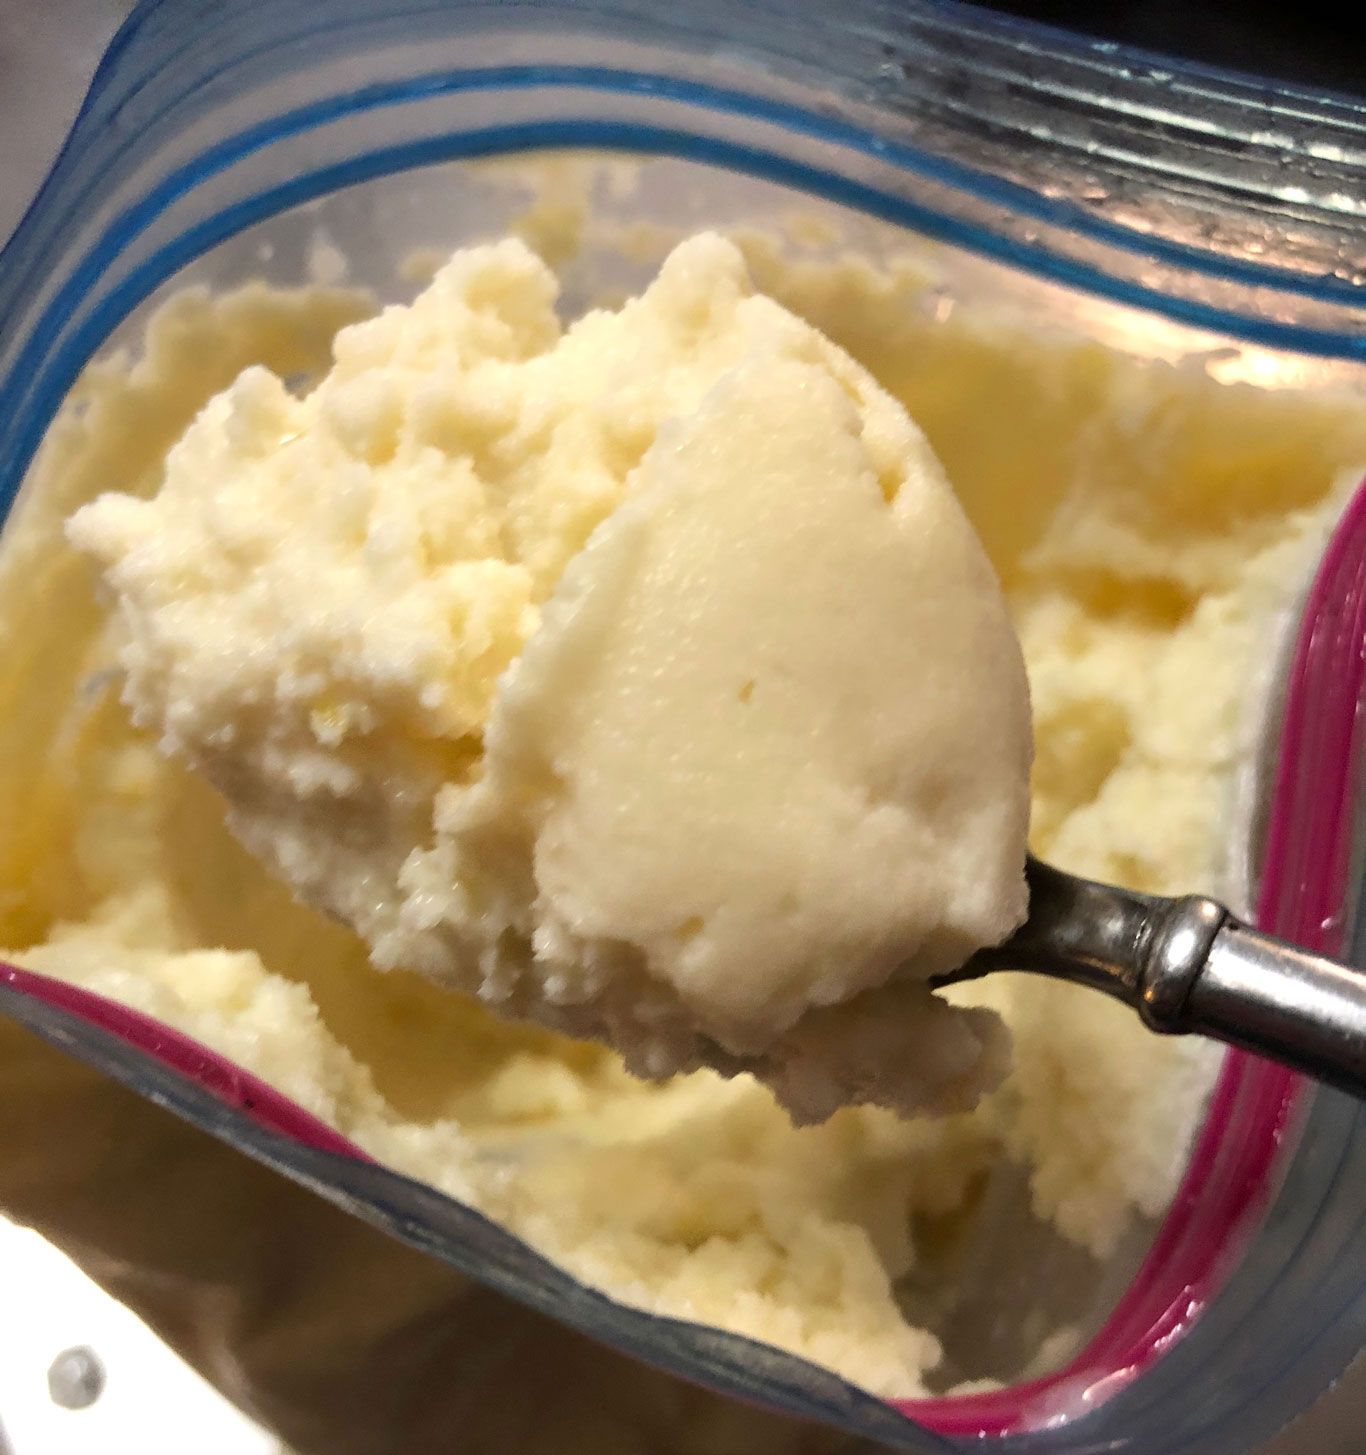
On to the next experiment! I had the coffee can and a smaller tin can, but I couldn’t find any lids. As luck would have it, I found some sources that said the same basic principle would work using plastic ziplock bags. So, I gave the alternative containers a try. The recipe I used filled the quart bag about half way, which was perfect!
- 1 cup whole milk
- 1 cup half-and-half
- 1/2 cup sugar
- 1/2 tsp vanilla
- 1 egg
- Your choice of flavoring
I whisked the ingredients together thoroughly before putting them into the fridge. This gave me time to get everything else ready. Several sources recommend that you age your mixture by refrigerating it from one to 24 hours to get better freezing results. While your mixture is in the fridge, gather a quart- and a gallon-size ziplock bag, some ice (small cubes are best), rock salt (table salt also works but not as well), and oven mitts or a towel – no one needs frost bite.

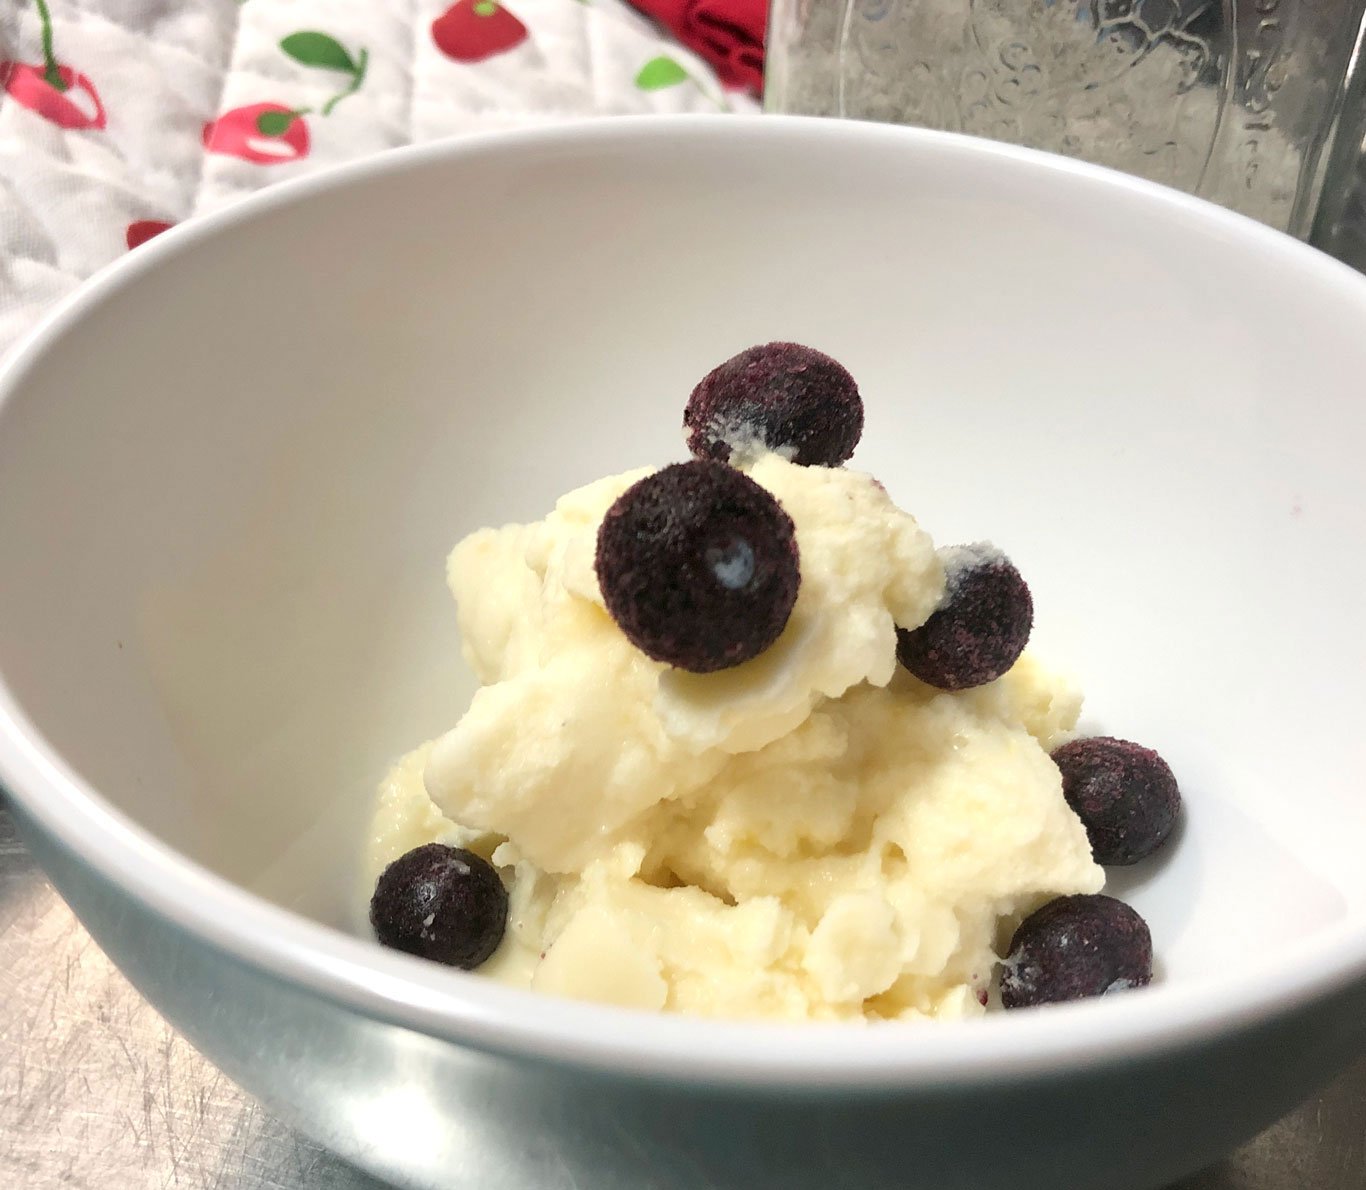
The plastic bag batch ended up being 10 minutes of trying to keep ahold of the bag while quickly shifting it from one hand to the other. After the first five minutes, I drained the water out and added more ice and rock salt. I also released excess air out of the gallon bag, so it was easier to hold. I was impressed that the ice cream was pretty solid after the total 10 minutes of shaking time. This method definitely takes more motor skills than the jar method, but the more complex recipe made delicious ice cream. Especially with a few blueberries on top!

STEMtastic!
Whatever process you choose to make your icy treat, there are plenty of topics to cover no matter the age you’re teaching. Here are some more ideas for you to engage your learners with something they’ll love to repeat all year round:
- Have a taste test – Makeandtakes.com
- Try a chemistry challenge to understand the use of salt – Scientificamerica.com
- Learn why fat is important in ice cream – Dreamscoops.com
- Read about the changing states of matter – Chem4kids.com
- Build your own ice cream maker – Lowes.com
- Explore the technology used to make ice cream – Newfoodmagazine.com
- Watch ice cream for Cold Stone being made – YouTube.com
- Plan a sundae party for the family – Aboutamom.com
I’d love to hear what experiments or learning opportunities using ice cream you’ve tried in the comments! And let everyone know how it goes if you try out the ideas listed here by tagging us on social media.
Enjoy the time with your kids, and who knows how these STEM activities will flavor the rest of their lives!


Updated 5/23/24
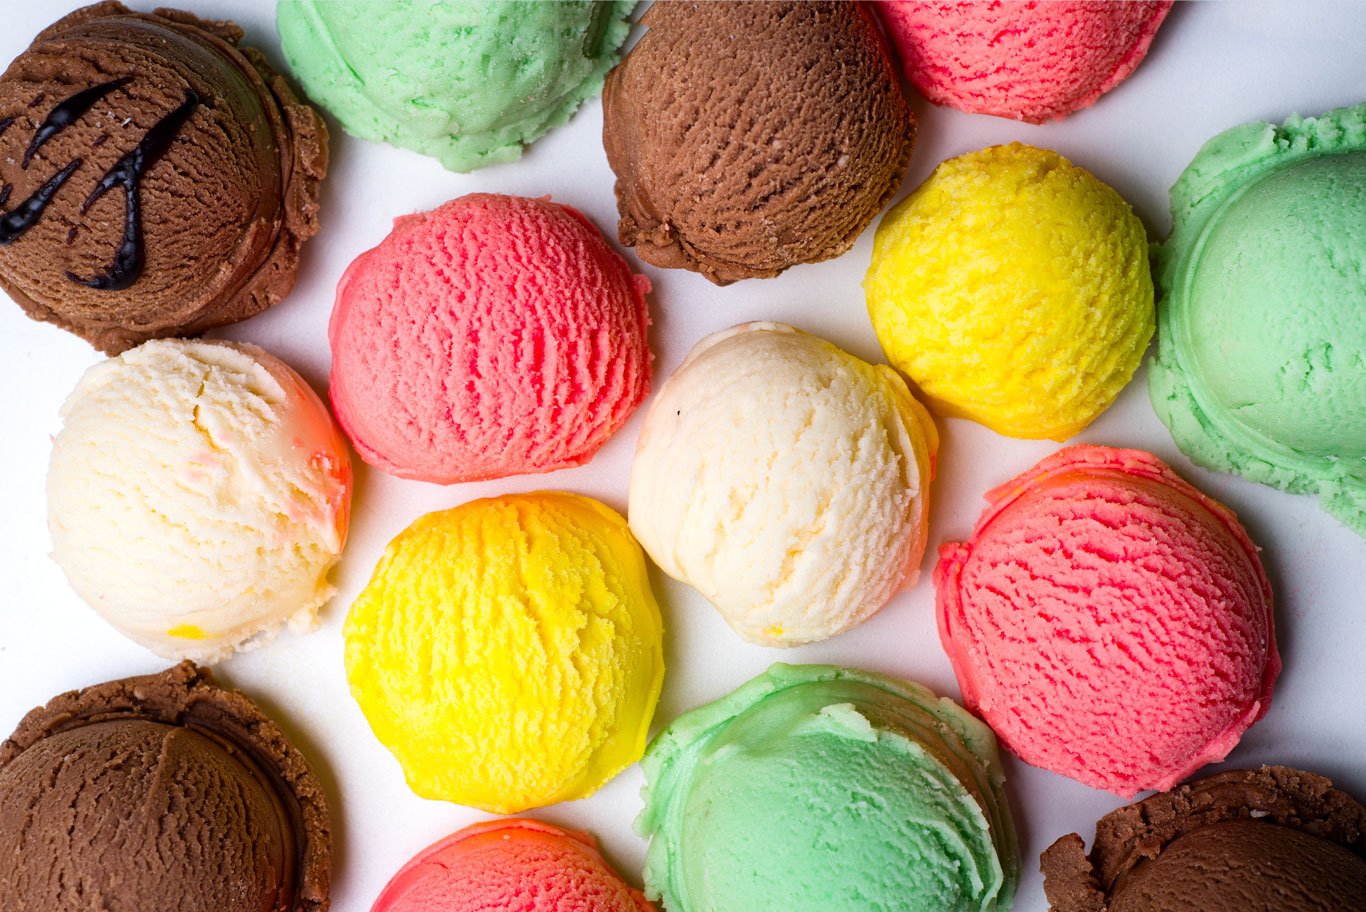
Ice cream is always a big hit in the summertime (and usually year round too if we’re being honest 😉). I don’t know about you, but I don’t think I’ve ever heard someone say they don’t like ice cream. And there are so many ice cream options to choose from! Personally, I grew up with Dairy Queen ice cream, but I won’t turn down any others!